How to Start Indoor Rock Climbing, Part I: Bouldering
July 13, 2026
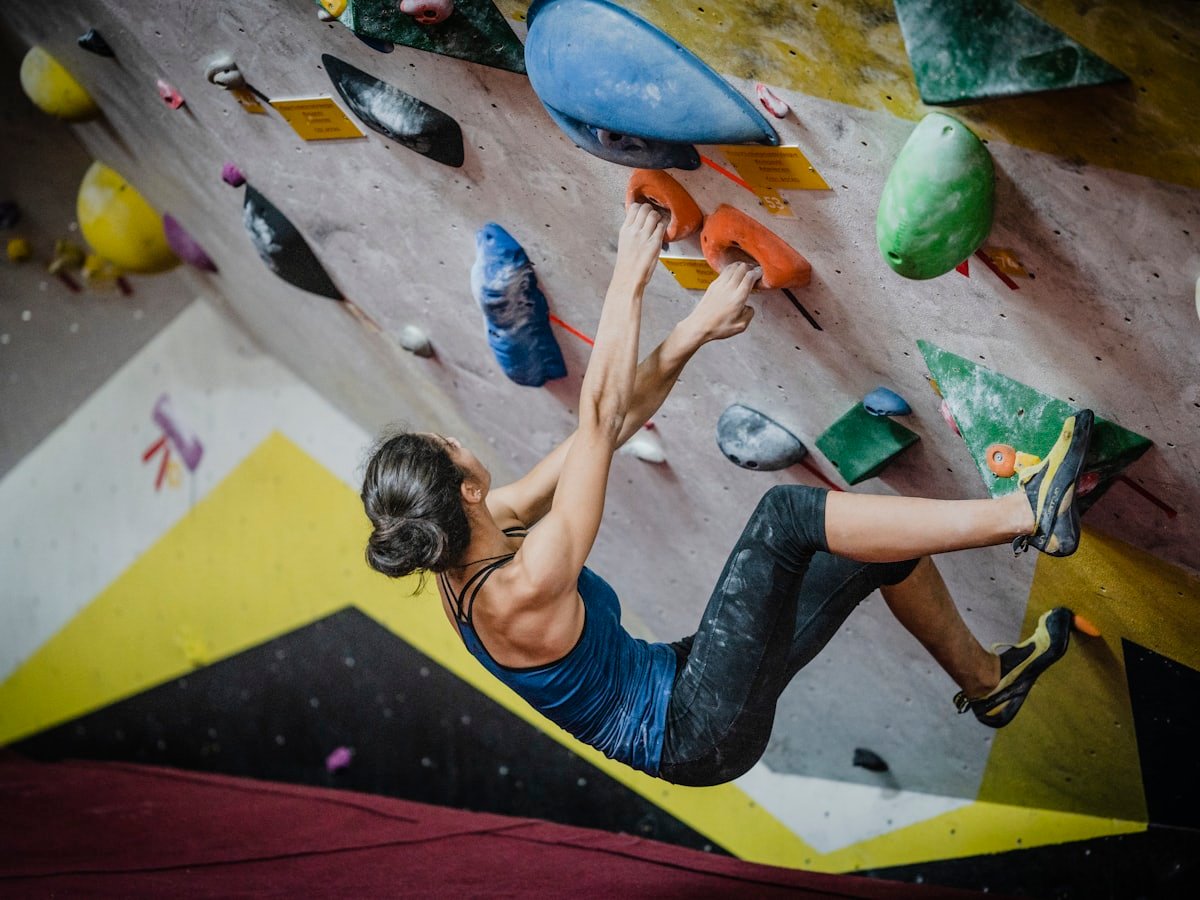
There are two types of climbing:
- Bouldering (short walls, no ropes)
- Top-rope climbing or auto-belay (taller walls, harness + rope)
Bouldering involves climbing short walls (typically under 20 feet) without the use of ropes. Instead, climbers rely on their strength and technique to ascend the wall. It’s considered the more accessible form of climbing for beginners, as you don’t need any specialized equipment other than climbing shoes. Falls are expected, but gyms provide thick mats below to cushion landings.
Top-rope climbing takes place on taller walls where the climber is secured by a rope that runs through a belay device at the top of the wall. Auto-belay systems are mechanical devices that allow climbers to climb independently without a partner. Top-rope climbing requires a harness, rope, and belay system. Some gyms offer intro classes to teach proper techniques for using the ropes safely. Most gyms offer quick intro classes, highly recommended.
Basics: grading and understanding a “problem”
Gyms typically use one of two systems:
- V-Scale: starts at V0 (very easy), sometimes even V-Beginner (V-B or V-BS), and progresses upward in difficulty. Intermediate problems are around V3 to V5, while very challenging problems are V7, V8, V9 and beyond.
- Color-based grading: instead of numbers, each color represents a difficulty range. For example, yellow might be beginner, blue intermediate, red advanced. Colors vary by gym.
A bouldering “problem” is a route defined by holds of a single color. To complete it correctly, you must use only the holds of the designated color for hands and feet, start on the specifically labeled start holds, and finish by controlling the final hold with both hands. If no holds are marked as “Top” or “Finish”, the problem might require you to go over the wall and “top out”. Volumes are large, geometric features attached to the wall; they can be used as part of a route.
How to land safely
- Check the fall zone first to make sure no one is underneath you.
- Aim to land on both feet with your knees bent to absorb impact.
- Allow your body to roll or soften backward or sideways instead of trying to stick a rigid landing.
- Avoid reaching behind you with your hands, which can cause wrist or elbow injuries.
- Move out of the fall zone promptly so others can climb safely.
Gear
- Climbing shoes: intentionally tight and uncomfortable for walking. Rent at first to figure out preferred fit and style before buying a pair.
- Chalk: keeps hands dry and reduces slipping. Liquid chalk is a cleaner option and reduces dust.
- Clothing: flexible, non-restrictive clothing such as athletic shorts, leggings, or lightweight pants.
Basic techniques
- Precise footwork: small corrections make big differences; place your feet quietly and accurately.
- Stay close to the wall: keeping hips near the wall helps you stay balanced and reduces strain on your arms.
- Straight arms when possible: hang with straight arms to conserve energy.
- Use body position: rotate hips, flag legs for balance, and shift weight thoughtfully instead of pulling straight upward.
Drills and exercises
- Silent feet drill: climb while placing feet as quietly as possible to improve precision.
- Downclimb practice: climb down instead of jumping to build control and technique.
- Traversing: move sideways along the wall for endurance and improved footwork.
- Strength training: core exercises (planks, hollow holds), pull-ups, and leg raises help build climbing-specific strength.